
cat _posts/2019-04-22-upx-en.md
22 April 2019Manually unpacking UPX
I presented this tutorial at the 2600 Kazakhstan cybersecurity meetup.
For this example, pack any executable with UPX.
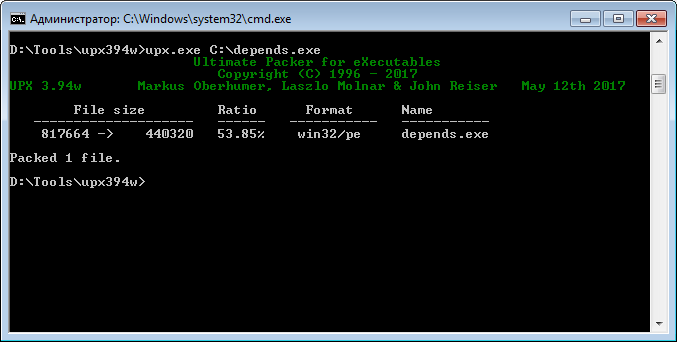
First, verify that the file is packed. There are several ways to do this.
- Using Detect It Easy:
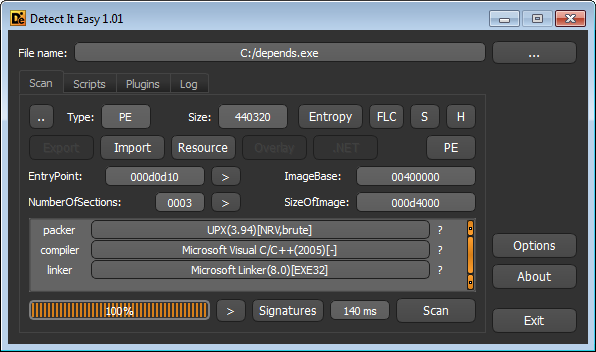
It identifies the file as packed with UPX 3.94.
- Using PEiD:
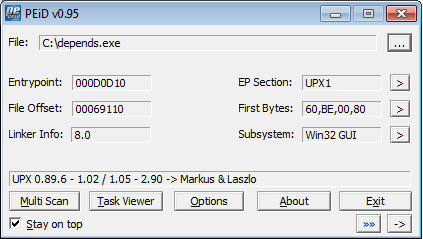
PEiD also identifies UPX.
- Using PEView. The PE headers show that the binary contains UPX sections.
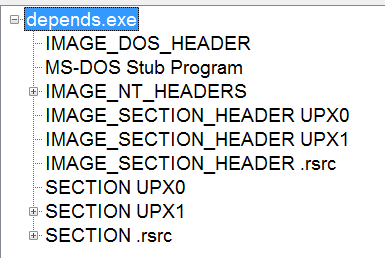
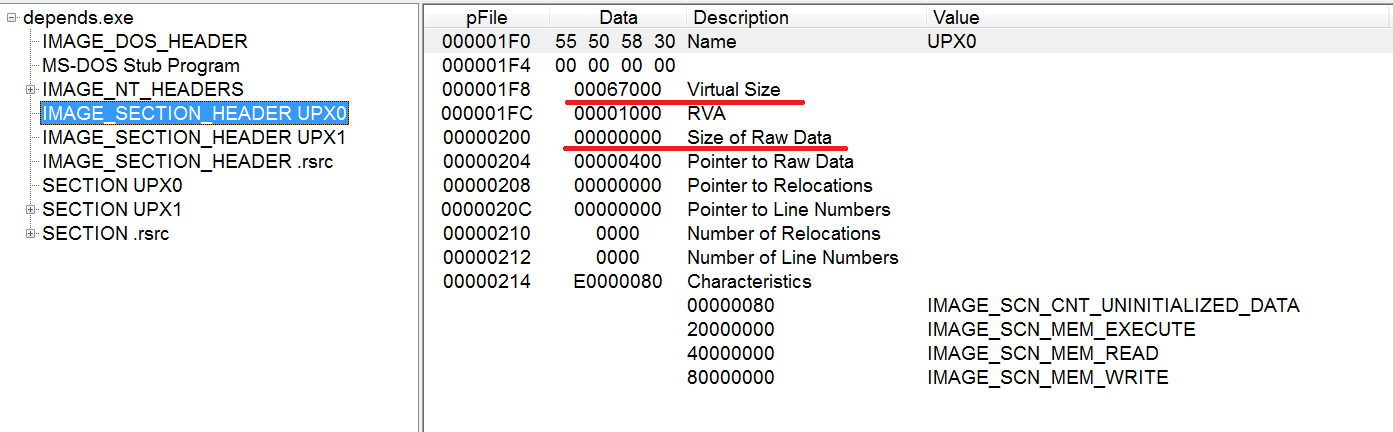
Another sign that the file is packed is the difference between SizeOfRawData, the section’s size on disk, and VirtualSize, the amount of memory allocated for it. In the UPX0 section, for example, SizeOfRawData is 0 while VirtualSize is 67000. This indicates that the section will be populated at runtime.
- Opening the file in IDA produces the following message:
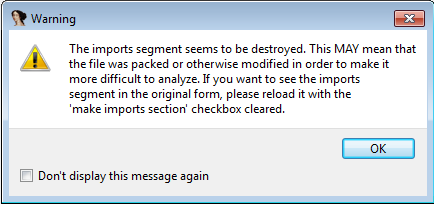
IDA reports that it could not identify standard sections such as .text and .data.
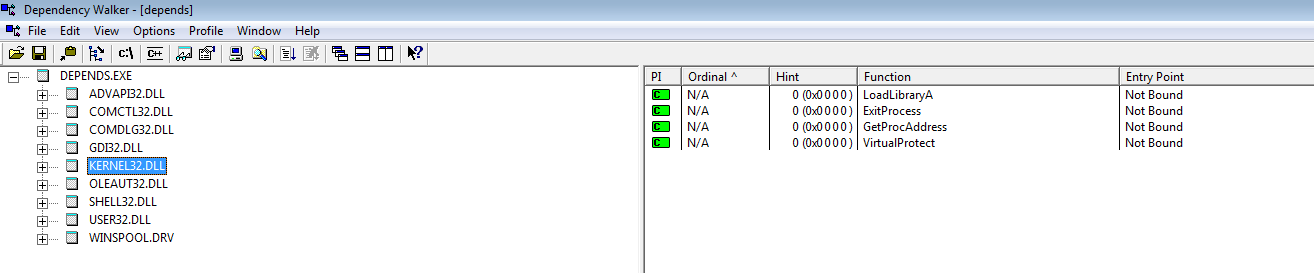
- Dependency Walker shows only
LoadLibraryandGetProcAddressin the import table. This small set of imports suggests that the original import table is rebuilt at runtime: each library is loaded manually withLoadLibrary, and each function address is resolved withGetProcAddress.
Now that we have confirmed that the file is packed, we can unpack it manually in IDA. This requires three steps:
- Debug the executable until its data has been unpacked.
- Rebuild the import table.
- Restore the original entry point (OEP) in the file header.
Open the file in IDA, enable Manual load, and disable Create imports segment. If the latter remains enabled, IDA converts definitions in the .idata section to extrn directives and truncates the section.
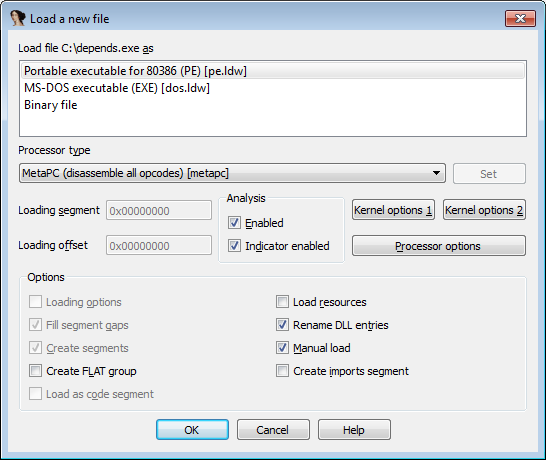
Next, IDA asks for the image base, which is available in IMAGE_OPTIONAL_HEADER and can be viewed with PEView. Load all sections, then locate the PUSHA/PUSHAD instruction, which pushes all 32-bit general-purpose registers onto the stack. Start execution and set a breakpoint on PUSHAD.
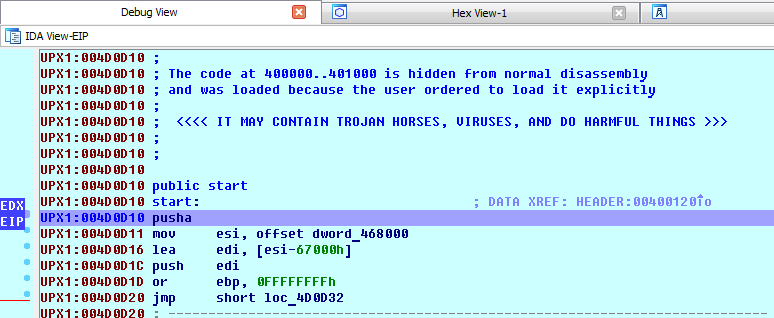
UPX begins unpacking after this instruction, having first saved the register values. Once unpacking is complete, a POPA instruction restores them. We need to break on that instruction, which can be done in two ways:
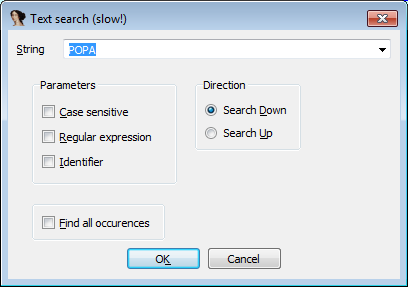
- Search for
POPA, set a breakpoint, and continue execution until it is hit.
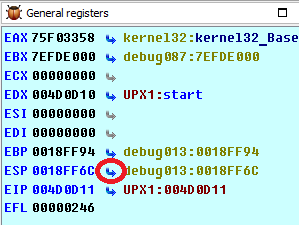
- Step over
PUSHAso that EIP points to the following instruction, then follow the ESP address by clicking the arrow next to ESP in the register list.
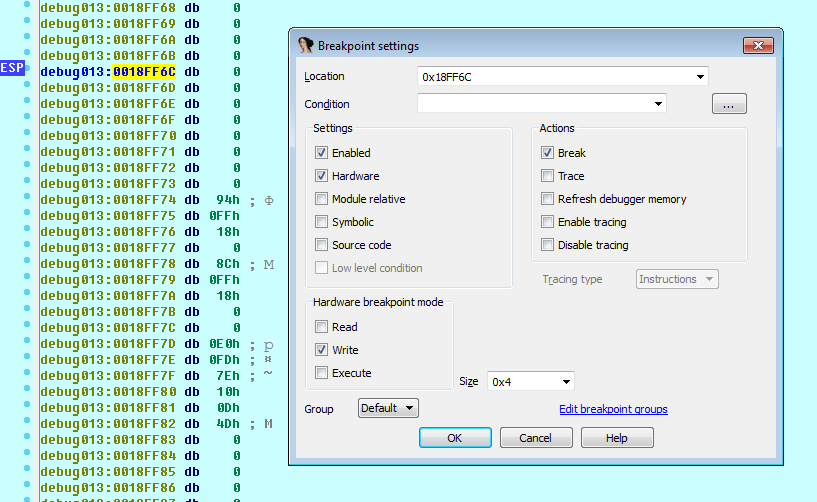
Set a four-byte hardware-on-write breakpoint. Alternatively, set the breakpoint at ESP + 4. Remember to remove it after it triggers. The breakpoint watches the saved stack data; when unpacking finishes and POPA restores the registers, the write breakpoint is hit.
After breaking on POPA, we should find a tail jump nearby.
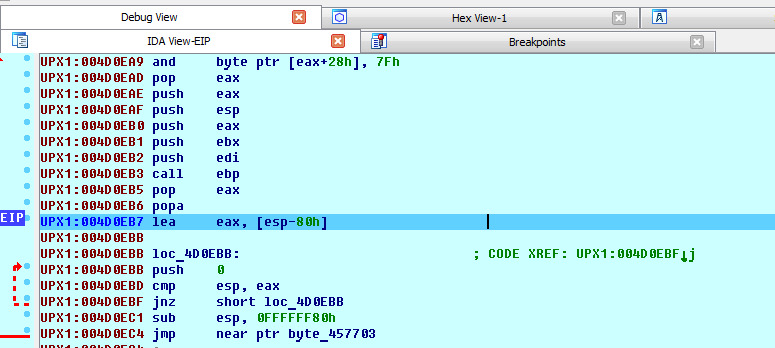
This tail jump redirects execution to the OEP. Its destination is unusually far from the current address because the unpacking stub runs in UPX1 while the unpacked code is written to UPX0. We inferred this earlier from UPX0’s zero SizeOfRawData and nonzero VirtualSize. OEP-finding plugins often rely on this transition from execution in one section to another.
We can now follow the jmp instruction.
Execution is now at the OEP, so we need to dump the unpacked program from memory. Start LordPE, select the process, and create a dump.
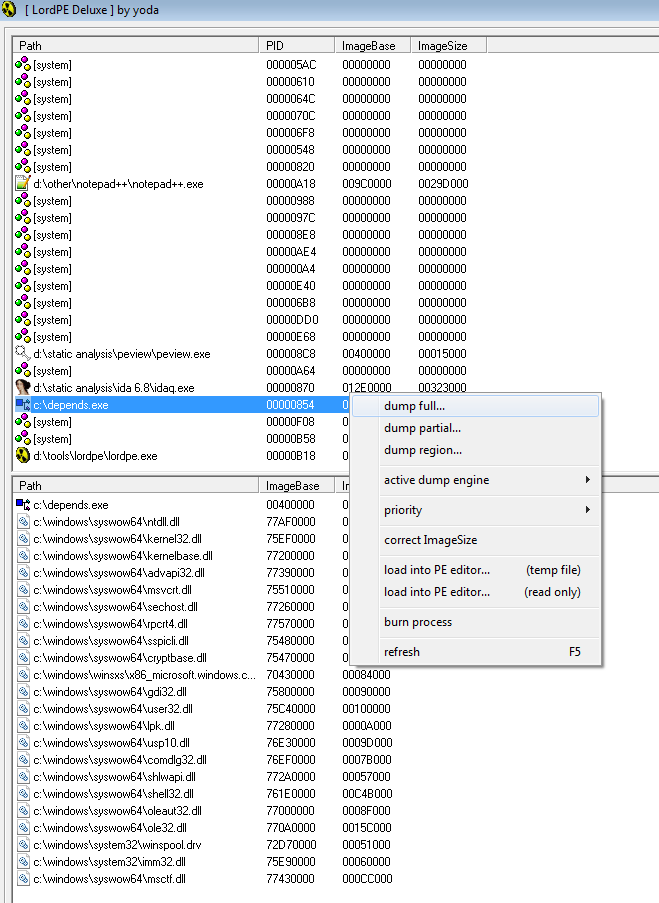
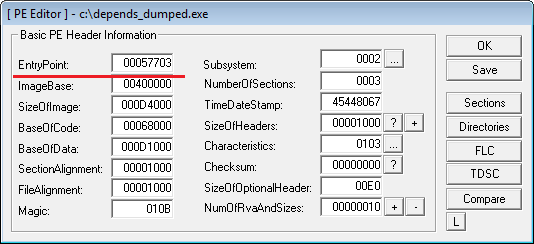
Open the resulting dump in LordPE’s PE Editor and set the OEP address. In this example, the RVA is 57703, which is the destination of the tail jump. Save the changes.
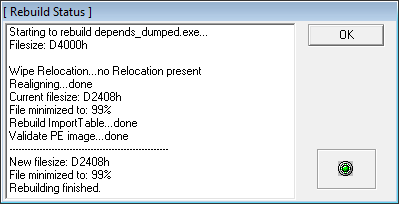
Open the dump in LordPE’s Rebuild PE tool to repair section alignment and related header values.
Run the dumped executable, then open ImpRec to rebuild the import table. Select the process, click IAT AutoSearch, and then Fix Dump. Finally, compare the reconstructed import table with that of the original, unpacked file.